More Bent Tree Basement Work
August 26 - September 1, 1980
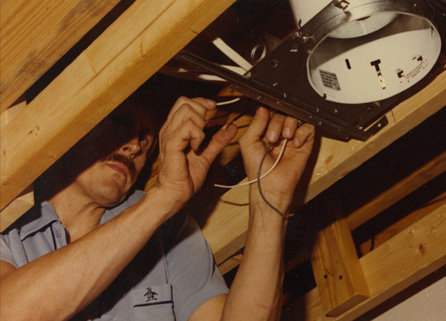
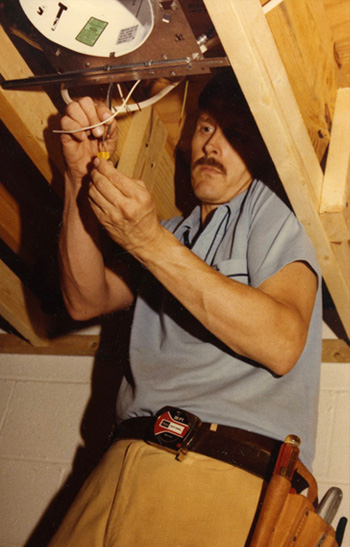
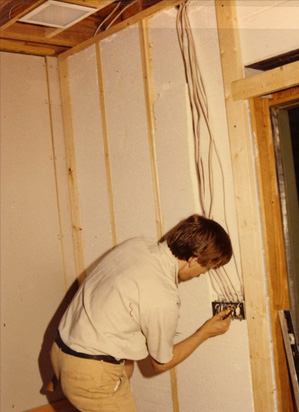
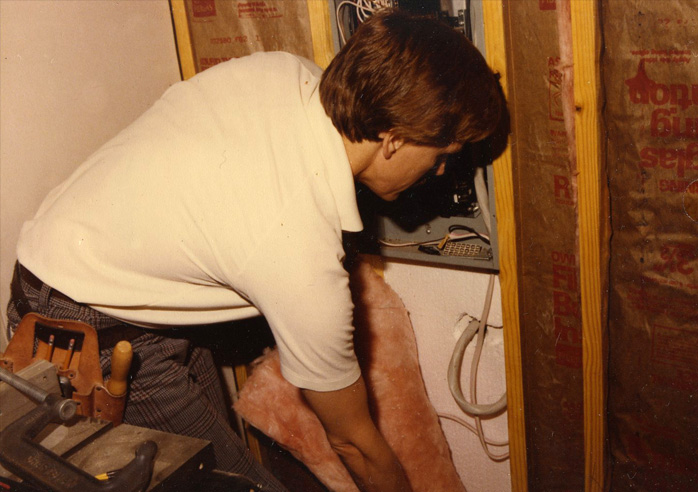
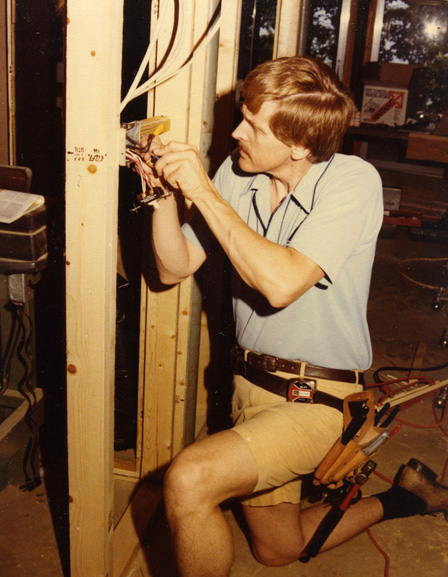 | Having gotten up the basic stud walls in the basement, Len takes on the wiring of those walls. Below, he is wiring the light over the basement stair. 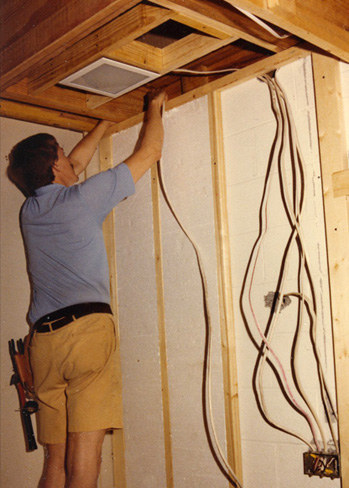 |
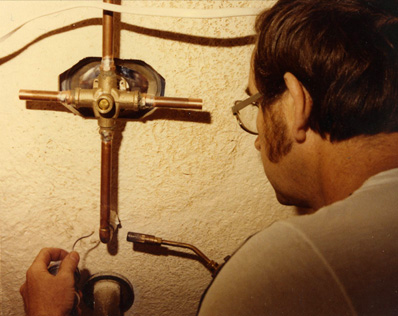
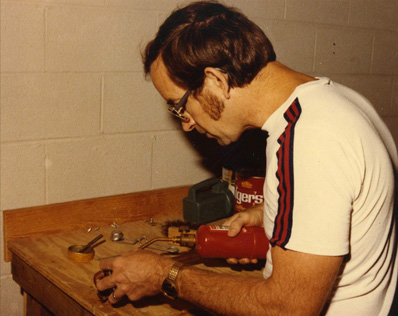
Meanwhile, Rod took on the plumbing. Above left, he is solding the copper connections to the tub and shower in the basement bathroom. We had build a rough workbench and he used it to assemble some of the copper joints. | 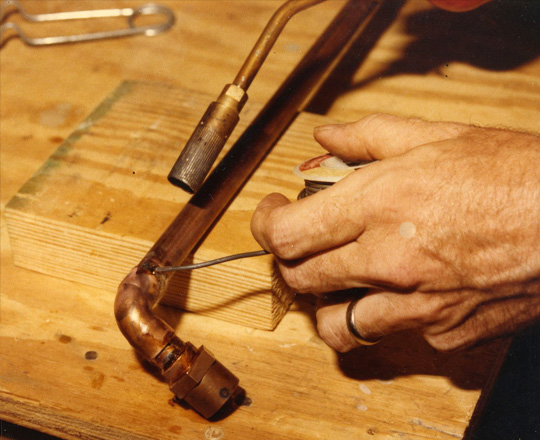 |
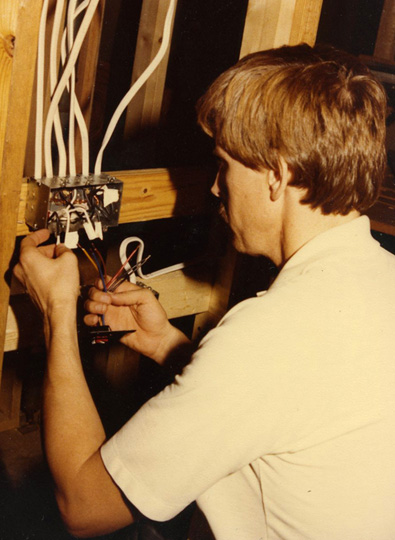
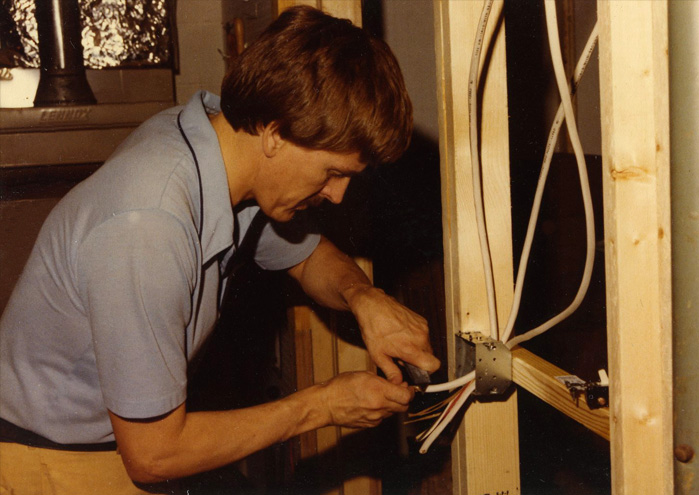 | Len progresses with the wiring, putting in a switch for the basement hall light. |
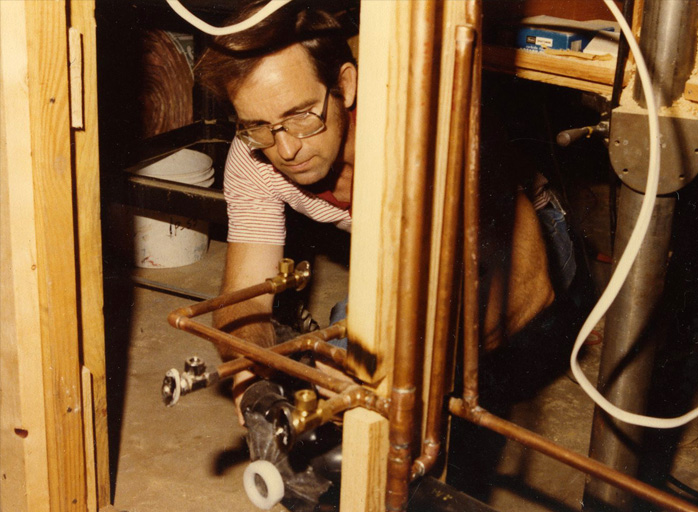
| Rod is working on the copper plumbing for the basement bathroom. These copper pipes will feed the sink and commode in the bathroom plus the little sink planned for the refreshment bar in the recreation room. | 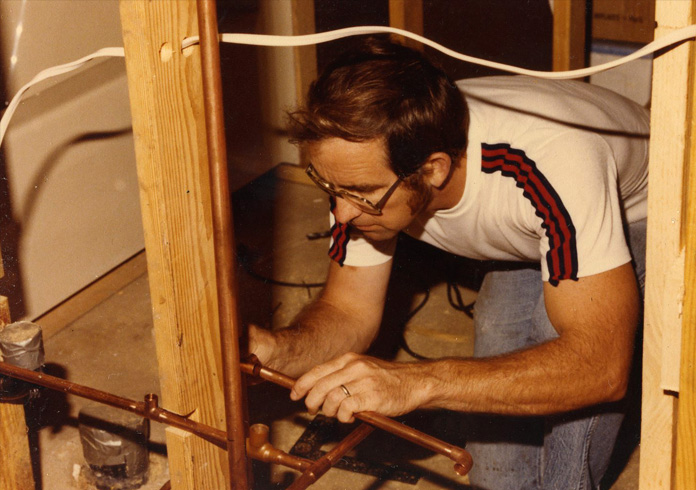 |
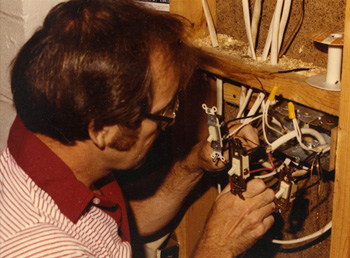
 | 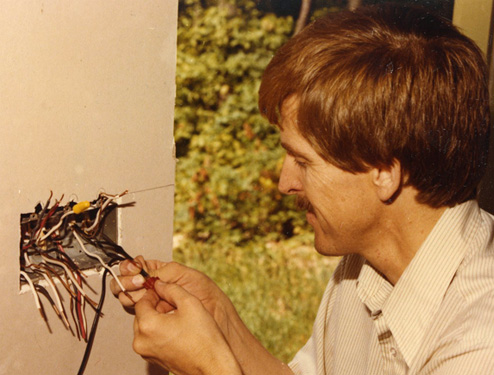 Len wires the switches by the outside door. |
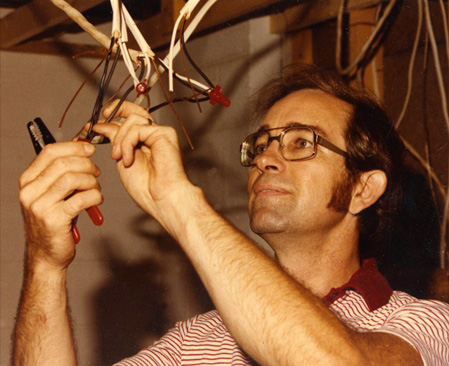
It has gotten to the point that we have to think about coordination of tasks. Len did the rough wiring of the light and switch box, then we sheetrocked the back wall, insulated the side wall, and finally sheetrocked that side wall by the door, above right. Then Len is taking on the rat's nest of wires for the overhead light (3-way), the basement room overhead lights (3-way) and the outside light by the door.
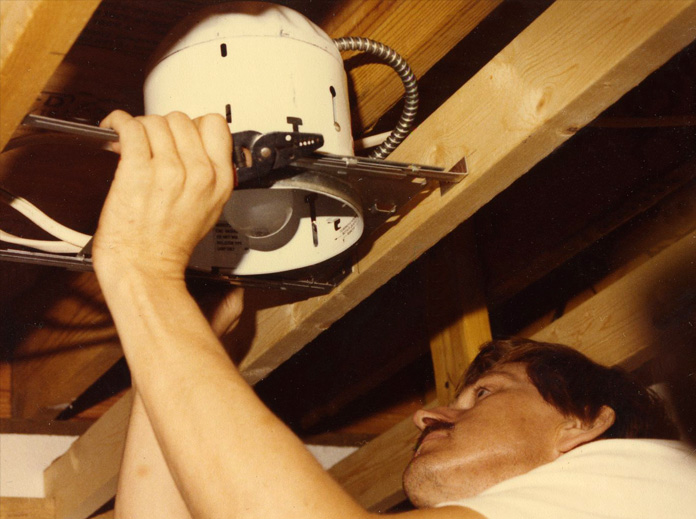 | Len mounts one of the can lights we planned for the future fireplace area. |
Rod gets into the act on the wiring, wiring some of the overhead fluorescent lights above left, and tackling the switch complex on the left side of the front glass doors.
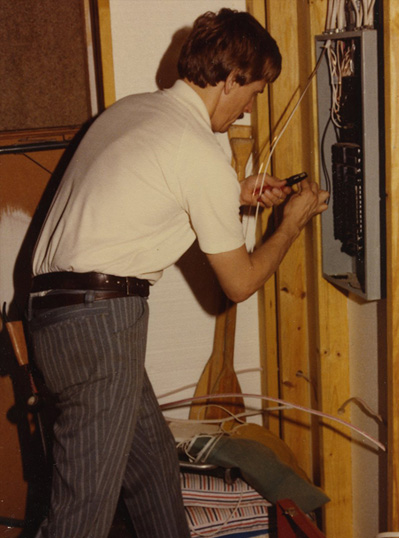
Len wires the switches for the lights, fan and heater in the basement bathroom. We had the advantage of having had a construction electrical feed done to the open main box, so we could add circuits as needed as we developed the electrical network for the house. Len puts in a breaker to supply the circuit he is working on.
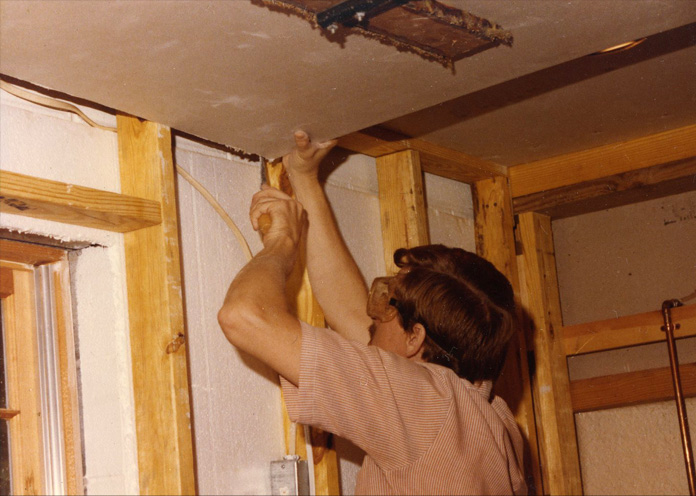
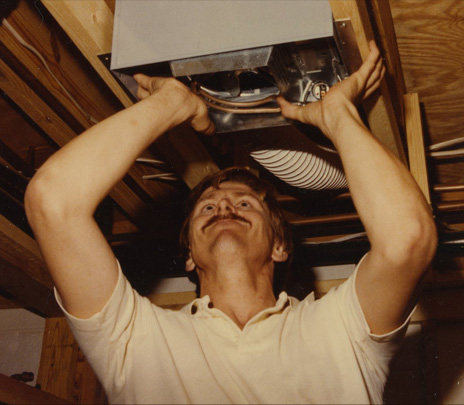 Now it is time to wrestle the combination light, fan and heater into the space between the ceiling 2x4's. Nothing is as easy as it looks. | 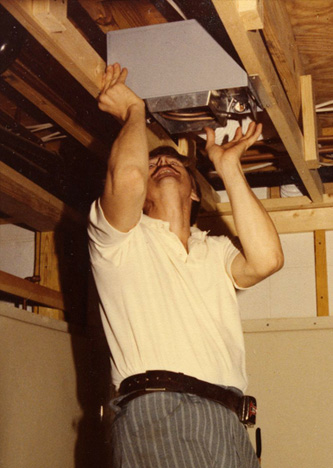 |
 | Rod is back to plumbing and has the water feeds completed for the bathroom sink and the sink for the future refreshment bar. Also, the ABS drain plumbing has been placed and ready for sheetrock on the wall. |
With electrical and plumbing rough-ins done, we are finally ready to hang some sheetrock. We rented a lift or "jack" to lift and hold the sheetrock against the ceiling. We cut the holes to fit the lights above the refreshment bar and are ready to lift this piece into place. | 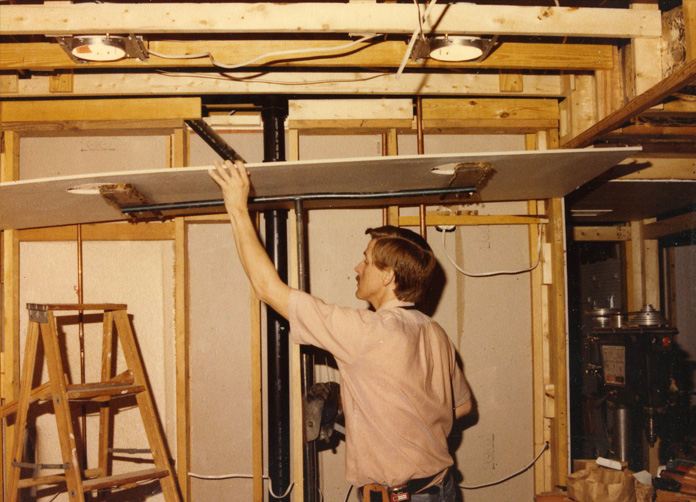 |
 | The first sheet is up, and Len is trimming the second. Probably my fault - I tended to cut things too tight, which he kiddingly called a "Nave fit", or a "ballpein fit" if you had to drive it into place with a ballpein hammer. |
Rod puts a nail in the second sheet of sheetrock. Neither of us had ever put sheetrock on a ceiling before, so this was a very new experience for us. | 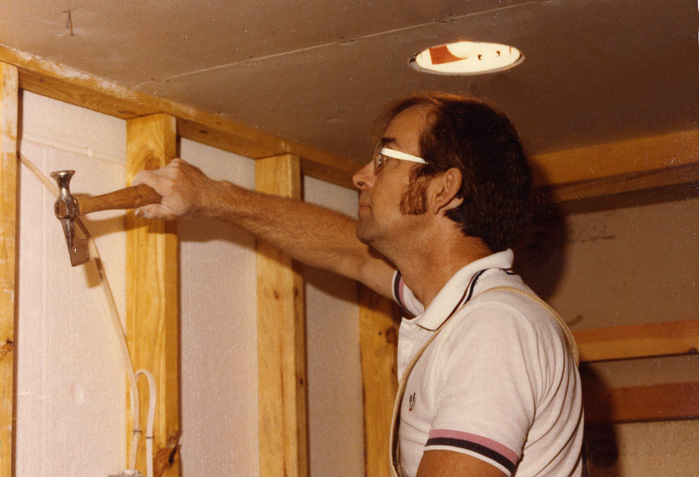 |
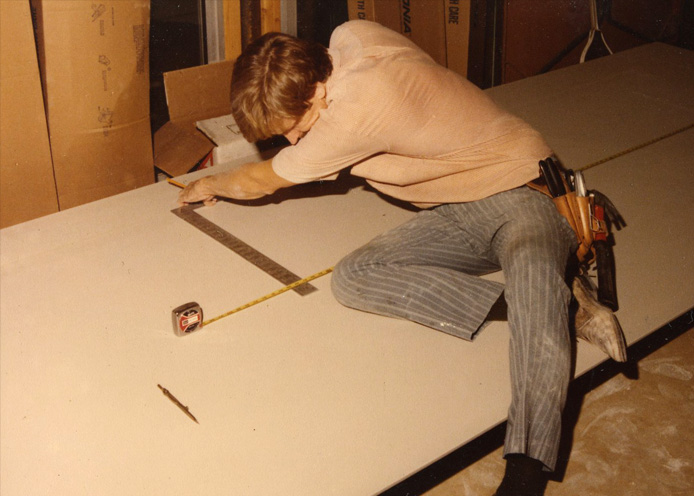 | Len measures another sheet of sheetrock. Despite being ceiling sheetrock novices, we chose to use 10-foot sheetrock so we could span the stretches without perpendicular seams. |
The lift did serve us well, even with the 10ft pieces, in getting them flat on the ceiling. They spanned the space well. We did have to install the fluorescent lights and cut around them and the heat vents. | 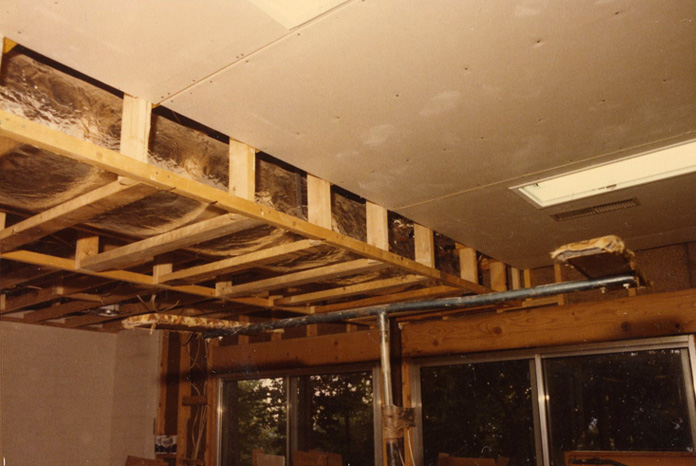 |
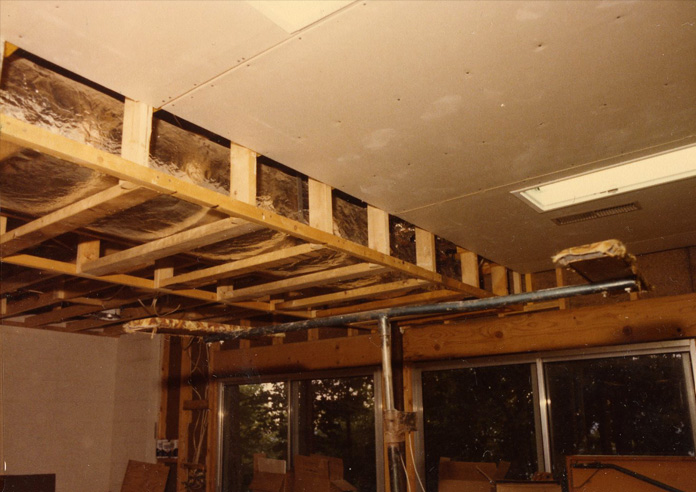 | We were pleased with the nice flat surface on the ceiling, and tight enough on the ends for the wall sheetrock to help support the ends. |
Mark helps Rod with layout when they had to cut a rectangle out of a long piece. | 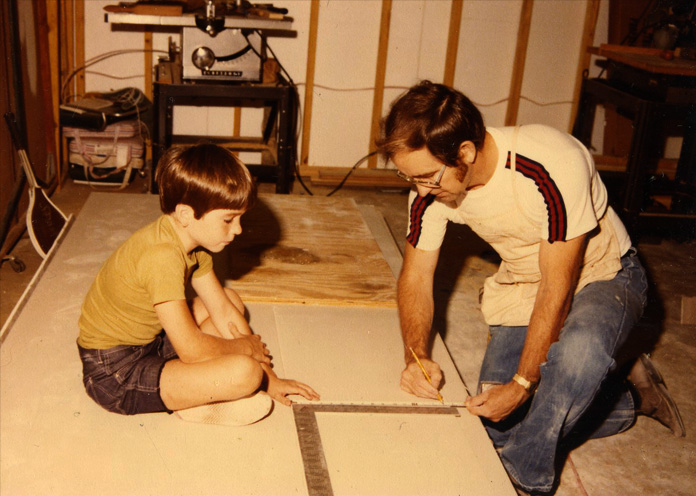 |
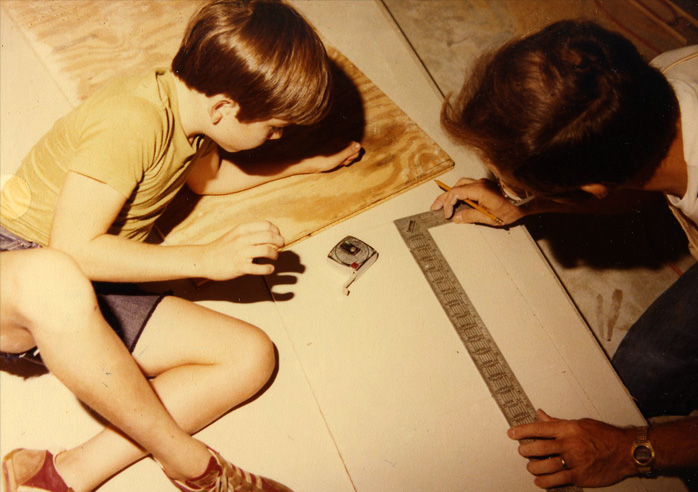 | Cutting a small piece out of a big sheet and getting it to fit right on the ceiling required careful measurement. |
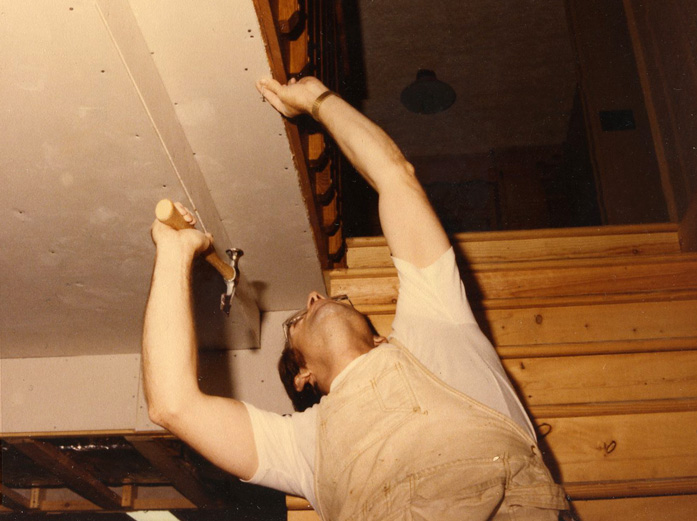
Len cutting out for a light in a 10ft piece of sheetrock. | 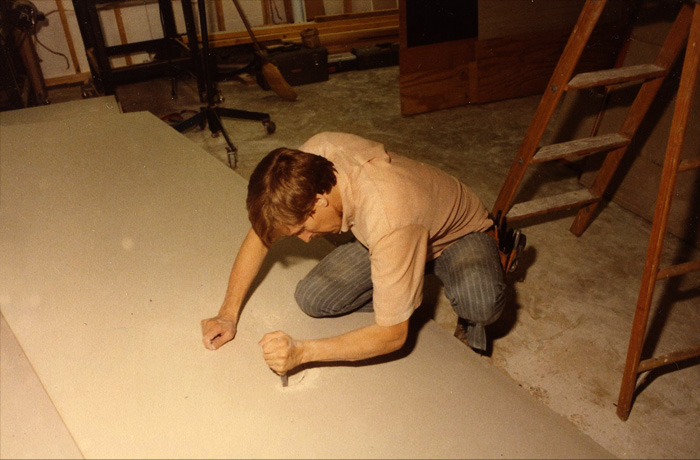 |
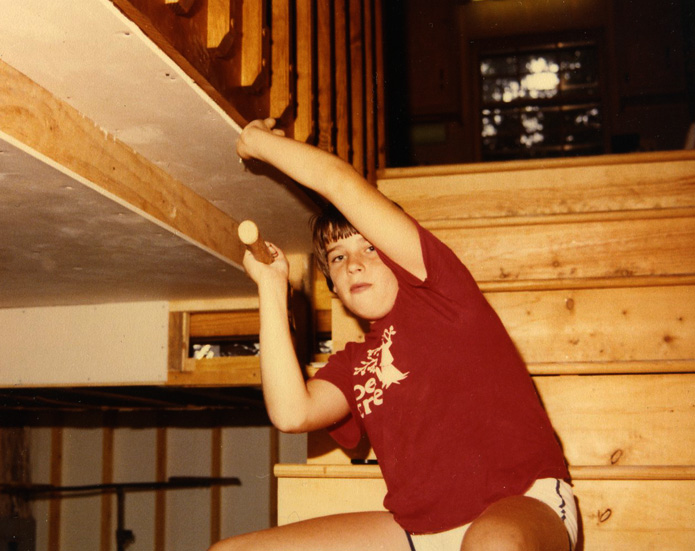 | Jeff helps nail up a narrow strip of sheetrock beside the stairwell. All the big 10-foot pieces were now up, and we were trimming with the smaller strips. |
Mark watches as Len cuts a small trim piece of sheetrock with a razor knife. | 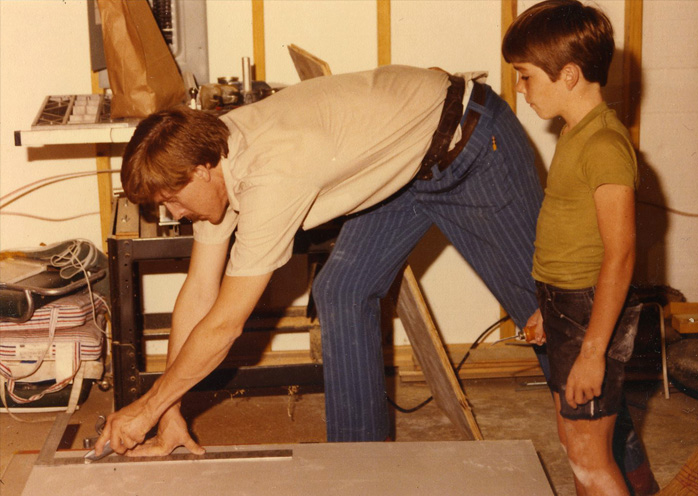 |
 | Rod finishes nailing down the narrow sheetrock strips at the stairwell as we neared completion of the ceiling sheetrock. |
The next item on the agenda was to sheetrock the cover for the ductwork, and again the trusty lift was valuable. We also had to use our heads a bit to balance a 10-foot piece of sheetrock. | 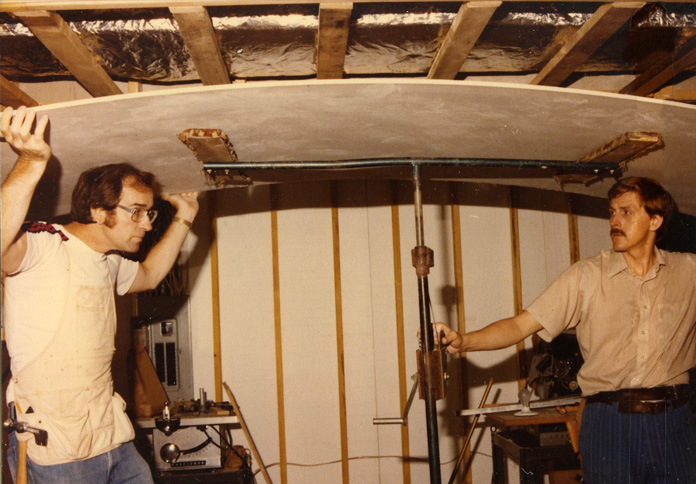 |
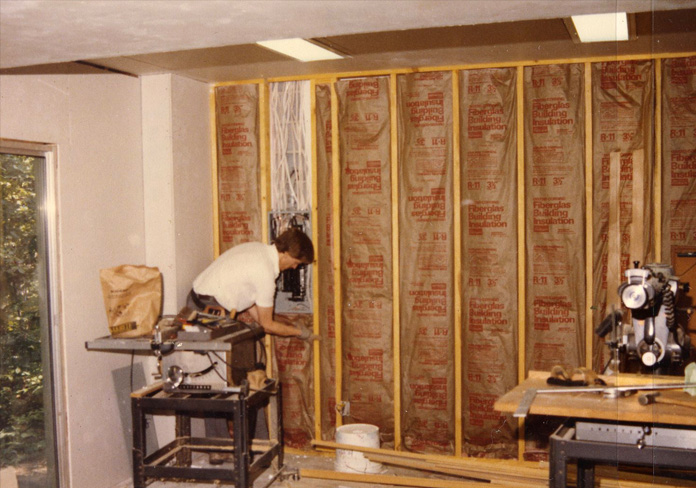 | After sheetrocking the duct cover, we turned our attention to the walls and insulated them in preparation for sheetrock. |
The plumbing wall of the basement bathroom was now complete and ready for sheetrock. | 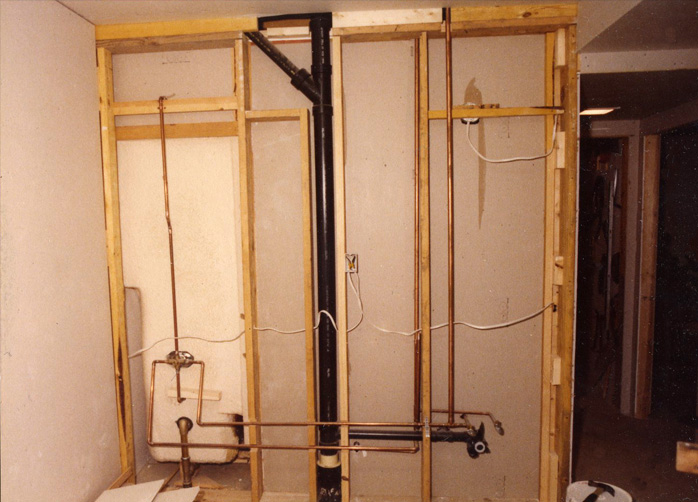 |
 | Len adds the final piece of fiberglass insulation to the wall under the electrical box, and this wall is ready for sheetrock. |

A nice family dinner that Brenda fixed for us at Bent Tree marked the end of this long Labor Day visit. Mark, Chris Ogburn, Rod, Brenda, Jeff and Len enjoyed the meal together. It was truly amazing what we had accomplished in what was really just an extended Labor Day weekend. Len and Rod made a good working team.
|
Index
1980 |